Where a Private Label Logo Actually Goes: Tubes, Boxes, Inserts and What Can Be Changed
Buyers ask whether a logo can go on it. Which surfaces accept a logo, which changes need a new tool, and the questions to settle before artwork is approved.
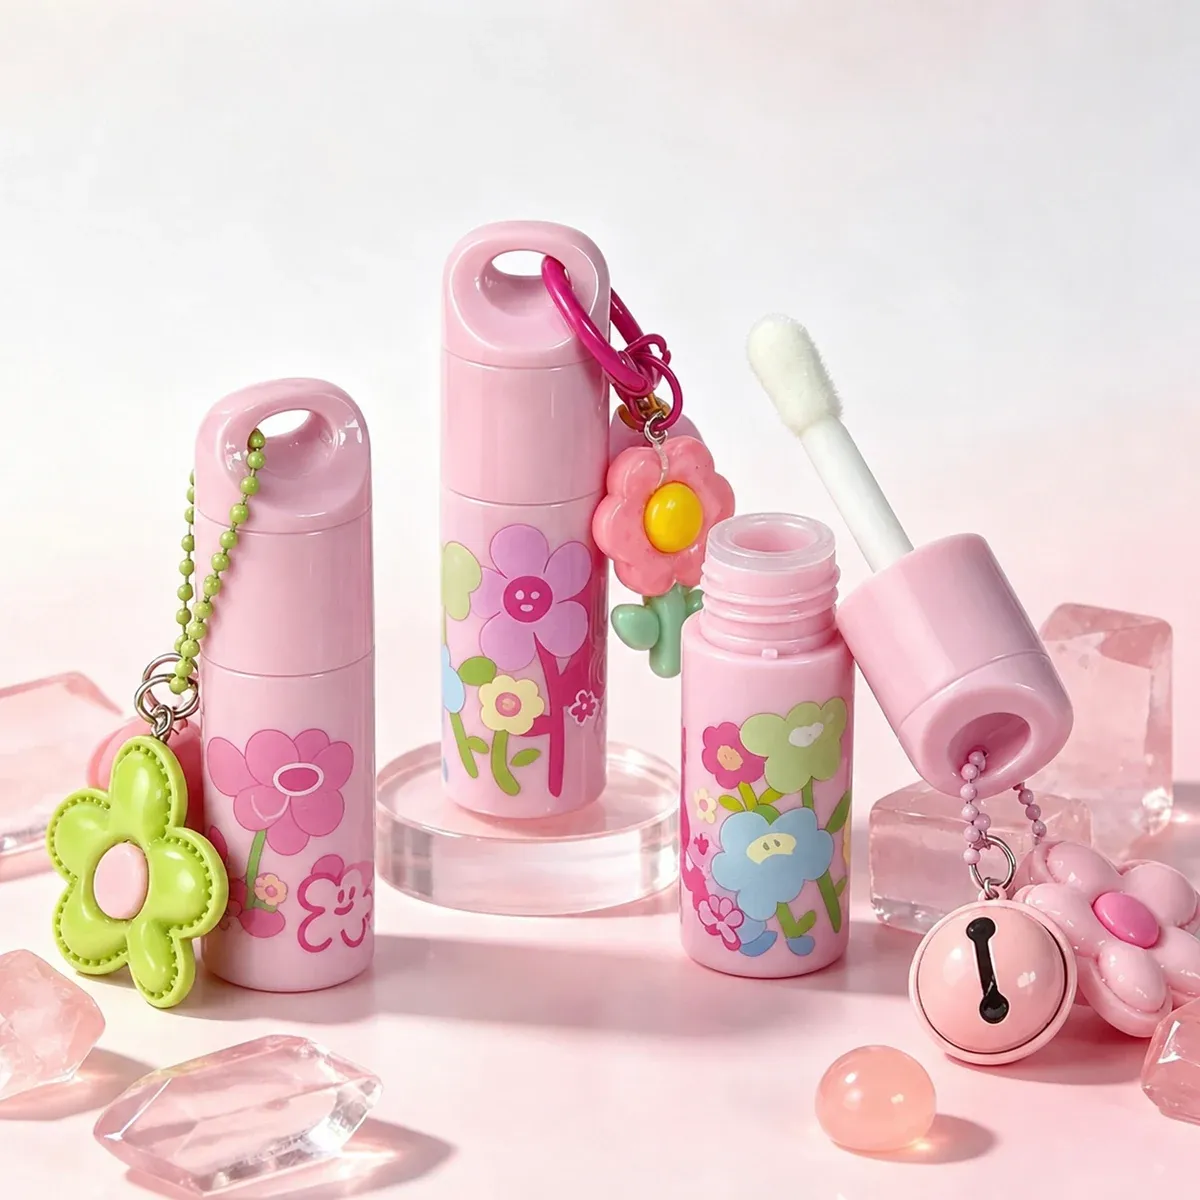
Two of the most common questions in a private label enquiry sound almost identical, and they have completely different answers. "Can you put my logo on it" is usually yes and cheap. "Can I change the photo on the box" is sometimes a new printing plate, sometimes a different component, and finding out which, three weeks into a sampling round, is how a launch date slips.
The gap between those two questions is where most first private label orders lose time. Buyers assume branding is one decision, because on a mockup it looks like one: the logo appears, the design looks finished, everyone approves. What actually happened is that six separate decisions got compressed into one image, which surface, which method, which colour, which artwork element, at what minimum, and with what lead time.
What costs money is discovering them in sequence rather than in one pass.
The Surfaces: Where a Logo Can Physically Go
Start with the surfaces, because everything downstream depends on which one you chose.
The component itself, the lipstick tube barrel, the compact lid, the bottle body, the jar. This is the placement most buyers mean by "put my logo on it", and it is the one with the most constraints: curved surfaces limit print area, small diameters limit legibility, and the component's existing finish determines which methods will hold.
The secondary carton, the retail box. The easiest surface to brand, the cheapest to change, and usually the lowest minimum, because a carton is printed flat and does not need to survive handling the way a component does.
The insert or card, the printed card inside a kit, the leaflet, the back card. The most flexible placement: paper means cheap changes and low minimums, and it carries shade names, ingredient information and usage instructions.
The closure and seal, cap, pump, tamper band. Sometimes brandable, often not; frequently the answer is a coloured component from a stock range rather than a printed one.
Applied labelling, a sticker or label on a stock component. This is the route that makes small quantities viable. We covered the unbranded route in neutral packaging for press-on nails.
How to choose: brand the carton and insert first. Customers read the box and the card; component branding is what you add when the range has proven itself.
Printing Methods and What Each One Costs and Requires
You do not need to specify a print process, but you do need to know the three variables that decide which one gets used, because they also decide your minimum and your lead time.
Whether it touches a tool. Any method that requires a plate, a screen, a die or a hot-stamp block carries a setup step and a setup cost, and that cost is the same whether you print 500 or 50,000. Digital and label-applied routes do not, which is why they dominate at low volume.
Whether it is one colour or many. Single-colour printing on a flat carton is the cheapest branded surface available. Each additional colour adds a pass, and full wrap-around printing on a cylindrical barrel is a different job from a one-colour logo on a flat panel, the question in that RFQ about "full printing around the entire barrel" is not a harder version of the same job, it is a different job.
What the surface is made of. A method that holds on coated paperboard may not hold on a soft-touch plastic barrel, and adhesion on curved or flexible components needs testing rather than assuming. If a component has a special finish, ask whether it is printable before you commit to branding it.
Cost impact: setup-driven methods make low volume expensive per unit and high volume cheap per unit, which is why the same logo can cost dramatically more per unit at one quantity and a fraction of that at ten times the quantity. Ask for the number at two quantities so you can see the curve.
The placement route, not the artwork, decides the minimum. Decide where the logo goes at quotation stage, get the per-surface minimums in writing, and the quote you receive is one you can actually accept.
What a "Small Change" Actually Triggers
This is the section that prevents the three-week slip, because buyers consistently misjudge which changes are free.
Cheap and usually free: changing artwork on a carton or insert, changing ink colour within an existing setup, changing logo position, swapping a photograph on a box. These are file changes, they need a proof and a sign-off, not a new tool.
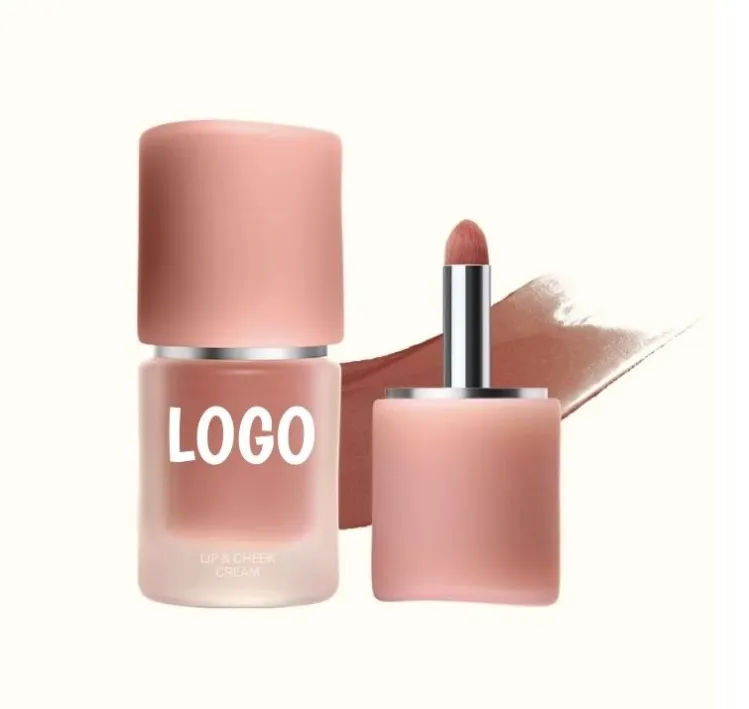
Moderate, a setup, not a new product: changing to a spot colour, adding hot-stamp or spot UV, moving from one-colour to two-colour on the same surface, adding a logo to a previously blank component. These cost setup and add lead time, but the component is unchanged.
Expensive, a different component or a new tool: changing barrel colour, shape, material or cap style, or requesting a closure outside the stock range. A custom component colour is not a print job; it is a production run with its own minimum, usually the highest number in the whole quote.
The three categories look identical on a mockup. "Make the tube baby blue" and "print the logo in blue" are one pixel change apart in a design file and several thousand units apart in a purchase order.
When to use: sort your change list into those three buckets before you send it. Asking for all of it at once and hoping most of it is free is the pattern that produces a quote you cannot accept.
Minimums and Lead Time Per Placement Option
Ask for minimums per placement, not per product, because they differ by an order of magnitude.
Carton and insert printing carry the lowest minimum and shortest setup. Applied labelling sits in a similar band for low-volume component branding. Direct printing on a component carries a higher minimum because you are committing to a production run of branded components. A custom component colour carries the highest, and it is the one that most often surprises a first-time buyer, the minimum on a custom-coloured barrel is a component minimum, not a printing minimum.
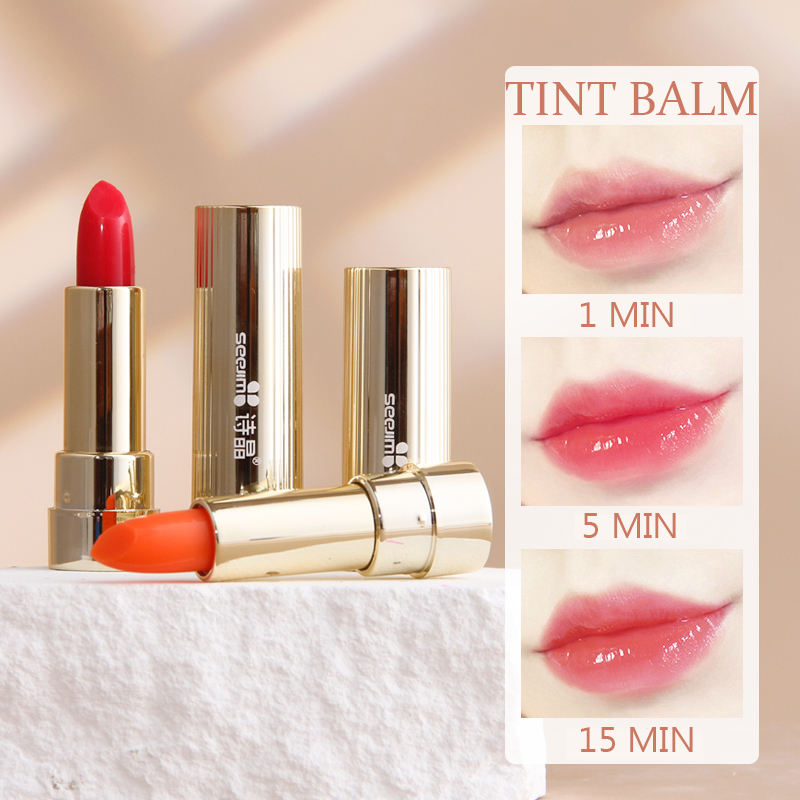
Lead time follows the same shape. Artwork changes add days; a new plate adds a setup cycle; a custom colour adds a production cycle. The critical path is usually the component decision, not the artwork, which is why you lock components before artwork.
How to choose: pick your placement route at quotation, not at artwork approval. The placement decides the minimum, and the minimum decides whether the quote is viable, artwork cannot rescue a minimum you cannot meet.
The Questions to Ask Before You Approve Artwork
1. Which surfaces can carry my logo, and at what minimum each? Carton, insert, component, label, four numbers, not one.
2. Which of my requested changes need a new plate, screen or tool? Ask per item on your change list.
3. Is the component colour I want a stock colour or a custom run? The single question most likely to change the quote.
4. What is the proofing process and how many rounds are included? Covered in more detail in confirming shade, texture and packaging details.
5. What happens to the setup if I reorder? Whether the plate is held, and whether there is a reorder minimum that differs from the first-order minimum.
6. Does the print hold on this finish? Ask for adhesion testing on the actual component, particularly on soft-touch or coated surfaces.
7. Who owns the artwork file and the plate? A practical question that becomes expensive only when you change supplier.
How to choose: get the answers in writing on the quotation, in the same table as the prices. A placement decision that exists only in chat is not a decision.
Four numbers, carton, insert, component and label, tell you which route your first order can afford. Ask for them before artwork starts; every week of artwork on the wrong route costs a reprint.
Send us the change list, and we will sort it into what is free, what needs a setup, and what needs a new tool, before artwork starts. We coordinate it with the long-term manufacturing suppliers behind your private label programme.
Discuss your branding planFrequently Asked Questions
Can a supplier put my logo on any cosmetic component?
Not on any, and not always on the one you have in mind. Curved surfaces, small diameters and special finishes all limit what is printable. The carton and the insert accept a logo in almost every case, which is why branding those first is the low-risk route.
Why is changing the tube colour more expensive than printing a logo?
Because a custom component colour is a production run, not a print job. It carries a component minimum and a production lead time, whereas a logo on an existing component in an existing colour carries a setup and a print run.
What is the cheapest way to brand a small first order?
Applied labelling on a stock component plus printed carton and insert. This avoids component tooling entirely, and it is the reason low-volume private label programmes usually start on stock components rather than custom ones.
Can I change the photo on the box?
Usually yes, and usually cheaply, it is an artwork change on a flat printed surface. What is not cheap is changing the box size, the board grade or the finish, because those change the printing specification.
How many artwork revisions are reasonable?
Ask before you start, and get the number in writing. Revisions are cheap until they collide with a production slot; the cost of an extra round is usually calendar time rather than money.
Do I need to brand the component to look like a real brand?
No. Customers read the carton and the insert, and a clean carton with a stock component is a normal, professional first range. Component branding is what you add when volume justifies the tooling.
What documents should I ask for about printed packaging?
Component and packaging specifications, and any test reports that exist on the materials as supplied, available upon request. Labelling content and any registration required for your destination market sit with the brand placing the product on that market.
Conclusion
Branding a first order is one decision on a mockup and six decisions on a quotation. Separate the surfaces, sort the change list, and put the per-placement minimums next to the prices, and the packaging you approve is the packaging you receive.