Sep 14, 2026Products, Packaging & Formula
How to Test and Record Results for Handmade Press-On Nails Samples?
Learn how to test handmade press-on nails samples with a step-by-step wear, flex, and moisture checklist that catches defects before bulk production.
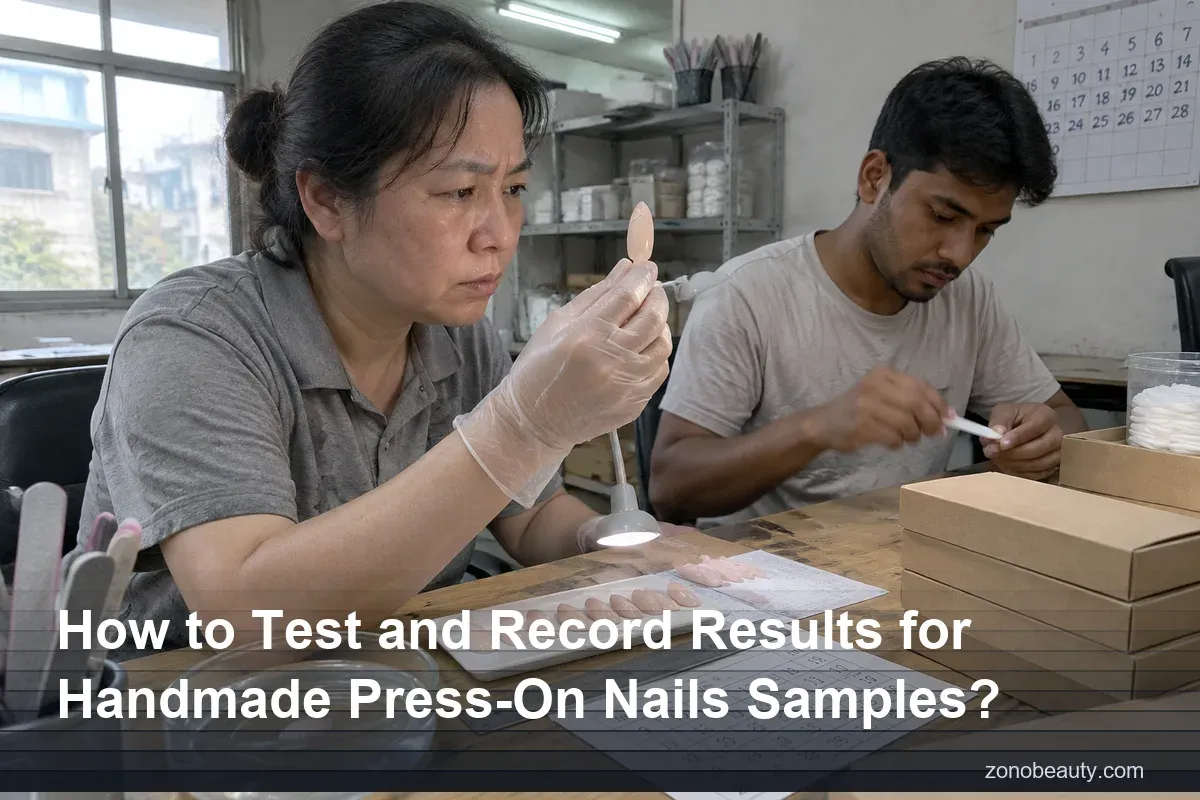
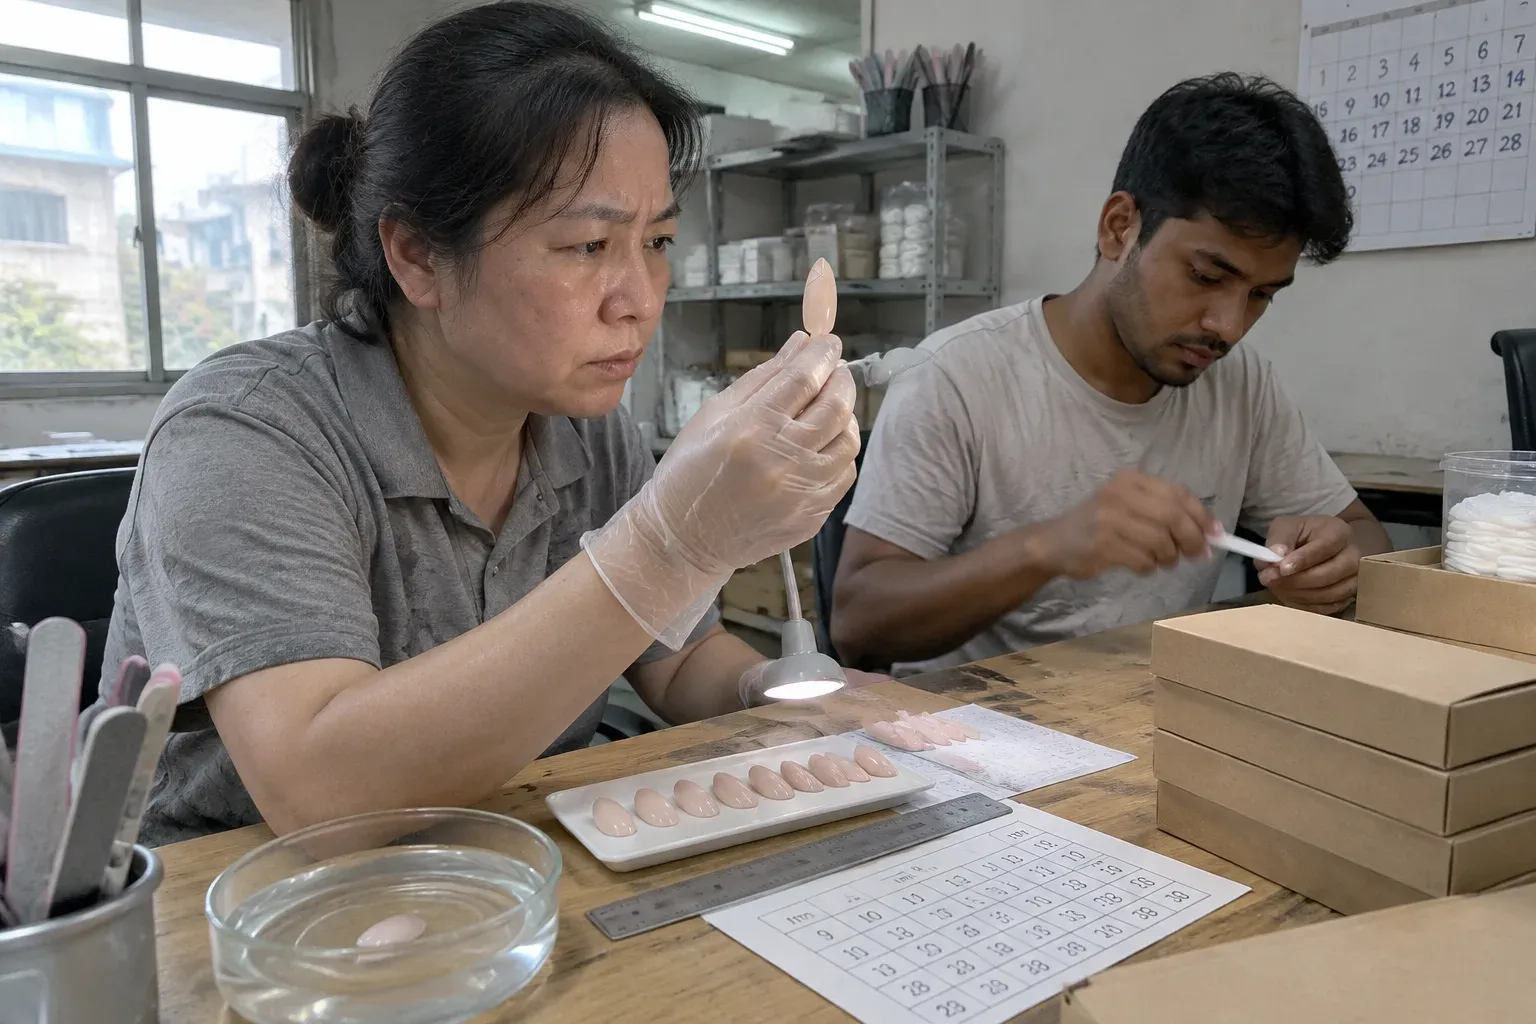
A sample set arrived at our Shantou office looking flawless, then lifted on day three of wear testing. Handmade press-on nails samples 1 hide their weaknesses until you test them properly.
To test handmade press-on nails samples, check sizing against a millimeter chart, run a 7–14 day wear test, apply pressure to the free edge, and expose sets to water and solvents. Record every result in a standardized QC log with photos, then compare rounds before approving bulk production.
That is the short version. The rest of this article breaks it into steps. I will show you what to test, how to log it, and how to read results across rounds. Let us start with the tests themselves.
ZONO confirmed terms (for reference)
- Sample sets: US$15 per set, credited against your first bulk order.
- Bulk production: around US$7 per set, quoted per design.
- Minimum order quantity: 50 sets per design.
- Compliance documentation: available upon request; final compliance responsibility rests with the brand owner.
- Markets served: Southeast Asia, North America, and South America.
Any other figures in this article are general industry context, not a ZONO quotation. Confirm current terms in writing before ordering.
What tests should I run on handmade press-on nail samples before approving bulk production?
Last spring, a production team sent us two identical-looking almond sets. One passed every check. The other cracked at the apex under light pressure. Photos would never have shown that.
Run seven tests before approval: a fit test on all ten fingers, an adhesion test, a 7–14 day wear test, a flex and snap test, a surface chip resistance test, a moisture and solvent test, and a packaging integrity check.
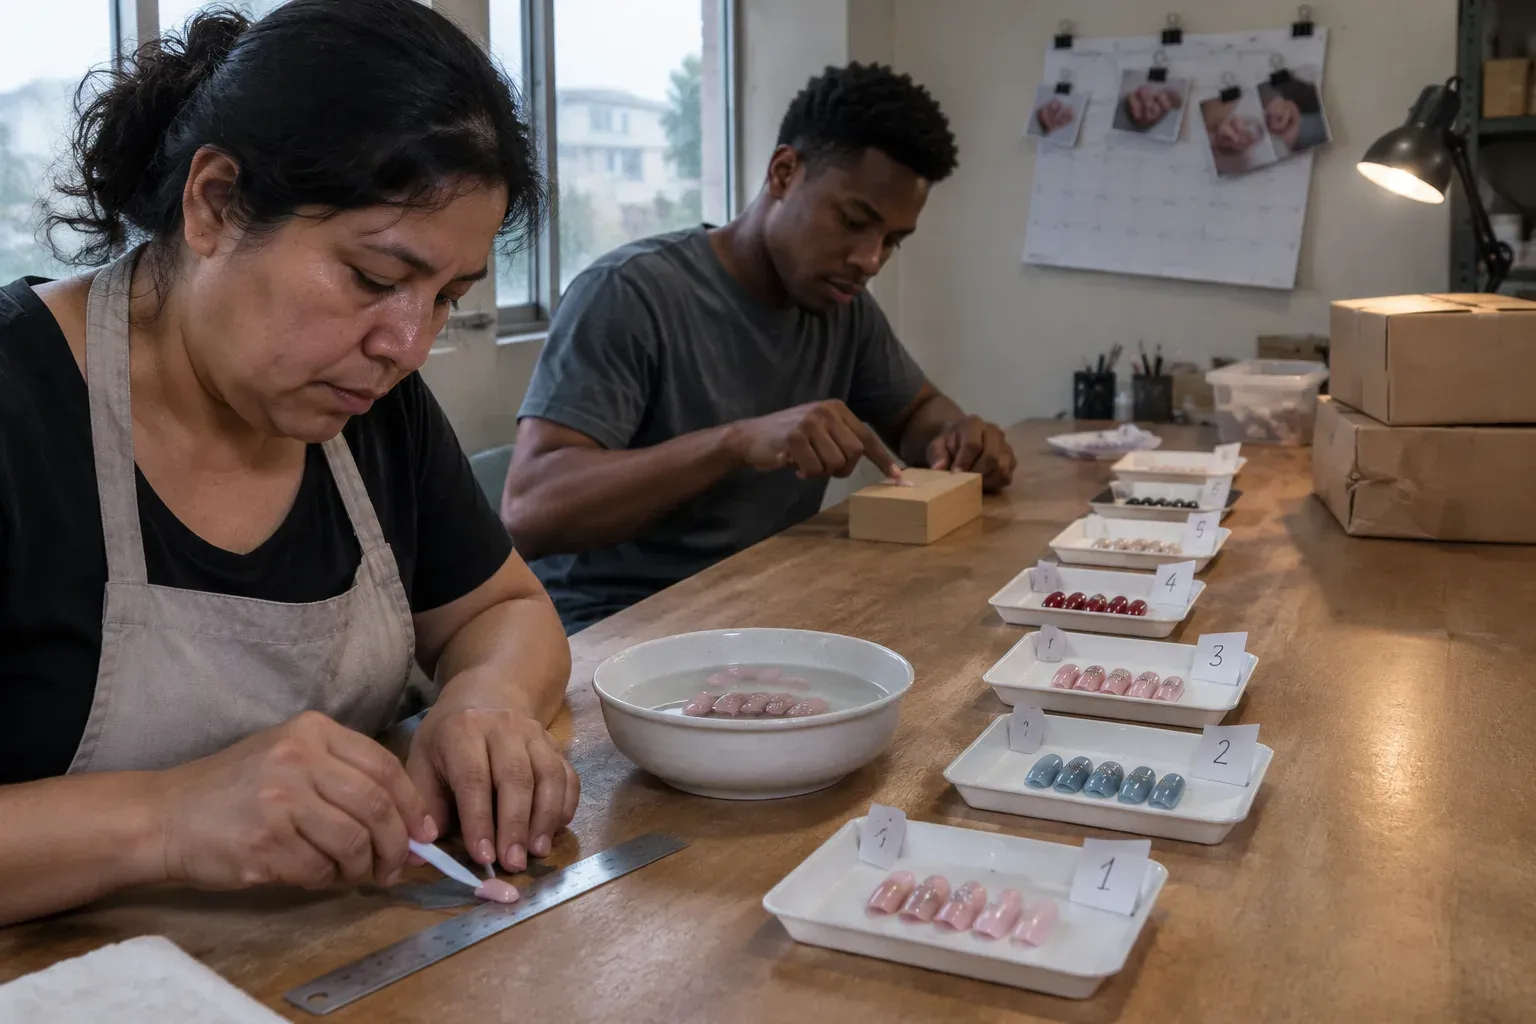
First, understand what a sample actually is. It is not just a pretty set. It is a production-representative prototype. Its job is to prove fit, curvature, finish, decoration placement <sup id="ref-2"><a href="#footnote-2" class="footnote-ref">2</a></sup>, and coating behavior under real wear. Many failures never show up in photos. Thickness problems, weak side profiles, and poor edge sealing only appear when you handle and wear the set.
Do not judge from one perfect demo set
When we coordinate press-on projects for overseas nail brands, we push for at least two sample stages. The first prototype verifies fit and curvature. The second, production-representative sample verifies finish, color match, and coating adhesion. If you plan to sell at scale, also run a small pilot with multiple testers who have different hand sizes. A customer wear test across varied hands catches sizing issues one tester never will.
The seven core tests
Test | What you check | How to run it |
|---|---|---|
Fit test | Flush contact, no gaps or pressure points | Apply on all ten fingers, check cuticle line and side walls |
Adhesion test | Time and location of first lifting | Wear with standard adhesive, log first-lift edge |
Wear test | Wear time duration under daily activity | 7–14 days of normal use |
Flex test | Bending, brittleness, white stress marks | Press the free edge with controlled pressure |
Chip resistance test | Topcoat and pigment chipping, dulling, fading | Monitor surface daily during the wear period |
Moisture and solvent test | Retention after water, sanitizer, sunscreen, detergent | Warm water soaks, handwashing, solvent contact |
Packaging test | Protection from dust, bending, crushing | Shake, drop, and unbox the shipped sample |
Some makers focus mainly on aesthetics. I understand the instinct, but beauty without durability is not enough for a product meant to be worn. Whether the base is a <a href="https://en.wikipedia.org/wiki/Artificial_nails" target="_blank" rel="noopener noreferrer">full-cover tip</a> <sup id="ref-3"><a href="#footnote-3" class="footnote-ref">3</a></sup> or soft gel extension tips, a set that snaps or lifts early will generate returns no design can offset.
✔ A wear test of 7–14 days is the standard way to validate real-world press-on performance TrueConsumer wear tests in this window expose lifting, chipping, and moisture failures that short desk inspections cannot reveal.✘ If a sample looks perfect in photos and feels smooth, it is safe to approve for bulk production FalseThickness, side profile, edge sealing, and internal curing flaws are invisible in photos and only surface under pressure, moisture, and multi-day wear.
How do I document and record sample test results so my supplier can act on them?
A US nail brand once sent us feedback that read "nails feel weird." The factory could not act on it. Structured records solve exactly that communication gap.
Record results in one sample log per set with fields for sample ID, date received, tester profile, nail sizes per finger, adhesive type, prep method, wear duration, first-lift time, defects, and a final pass/fail decision. Attach dated photos of the front view, side profile, and after-wear condition.
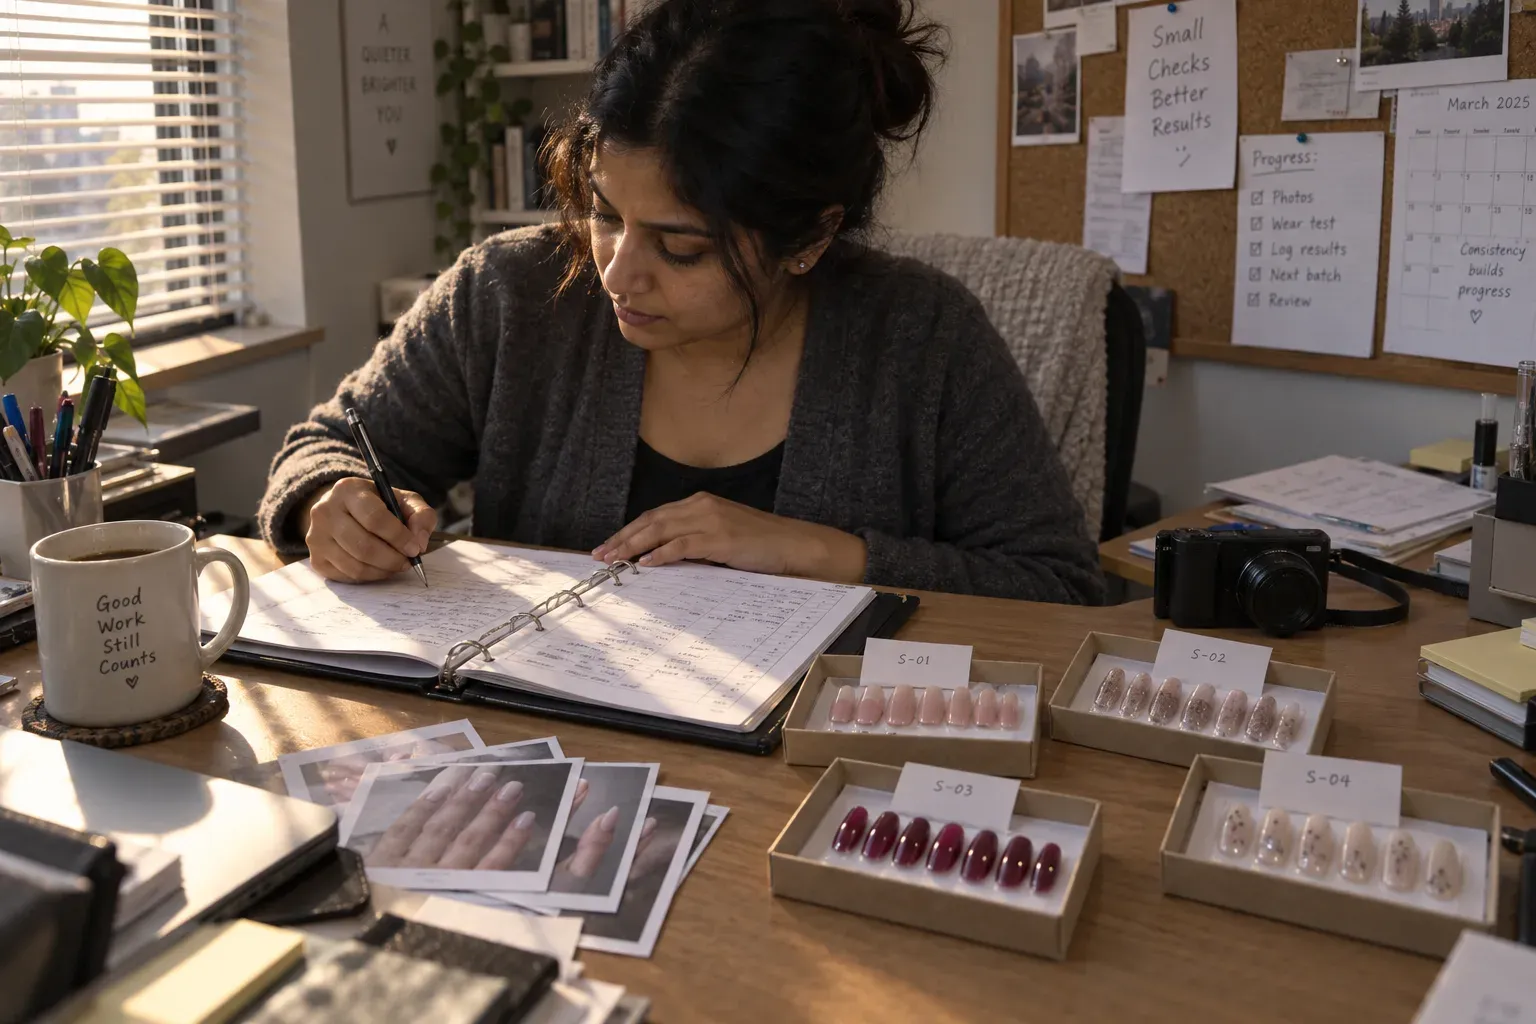
Records beat memory every time. When we relay feedback to vetted production network, vague notes stall a project. Precise logs move it forward in one email. Here is the process I recommend to every buyer we work with.
- Create one log entry per sample set, not per design. Two sets of the same design get two entries.
- Fill in the setup fields before testing starts: sample ID, design name, maker, date received, tester code, and environment conditions.
- Log actions as they happen: nail bed preparation method, adhesive type, application date, and daily activity level.
- Record outcomes with numbers and timestamps: the specific date of first lifting, any cracks, chips, or gaps, comfort notes, and removal difficulty.
- Close the entry with photos and a pass, revise, or reject decision.
The fields your quality control checklist needs
Field group | What to record |
|---|---|
Identity | Sample ID, design name, supplier or maker, date received |
Setup | Tester name or code, nail sizes used per finger, adhesive type, prep method |
Conditions | Environment conditions, wear duration, daily activity level |
Outcomes | First-lift time, cracks, chips, gaps, comfort notes, removal difficulty |
Decision | Final pass/fail decision, revision requests, photos before, during, and after |
Photograph what customers cannot infer from a listing. That means front view, side profile, close-up cuticle fit, edge thickness, and after-wear condition. Side-profile shots matter most because they reveal thickness and structure better than standard product shots. A simple spreadsheet or printed QC sheet is enough. The format matters less than the consistency. When your supplier receives "index finger, size 4, first lift at cuticle edge on day 2, photo attached," they can fix the exact problem.
What durability, fit, and adhesion checks matter most for press-on nails?
Every extra coating layer we approve adds strength but also thickness. Balancing that trade-off is why our team weighs durability, fit, and adhesion together, never in isolation.
The checks that matter most are millimeter-based sizing on all ten fingers, time-to-first-lift and percent of nails retained at 24, 72, and 168 hours, free-edge pressure testing for stress marks, and a cross-section curing audit to catch uncured gel inside the structure.
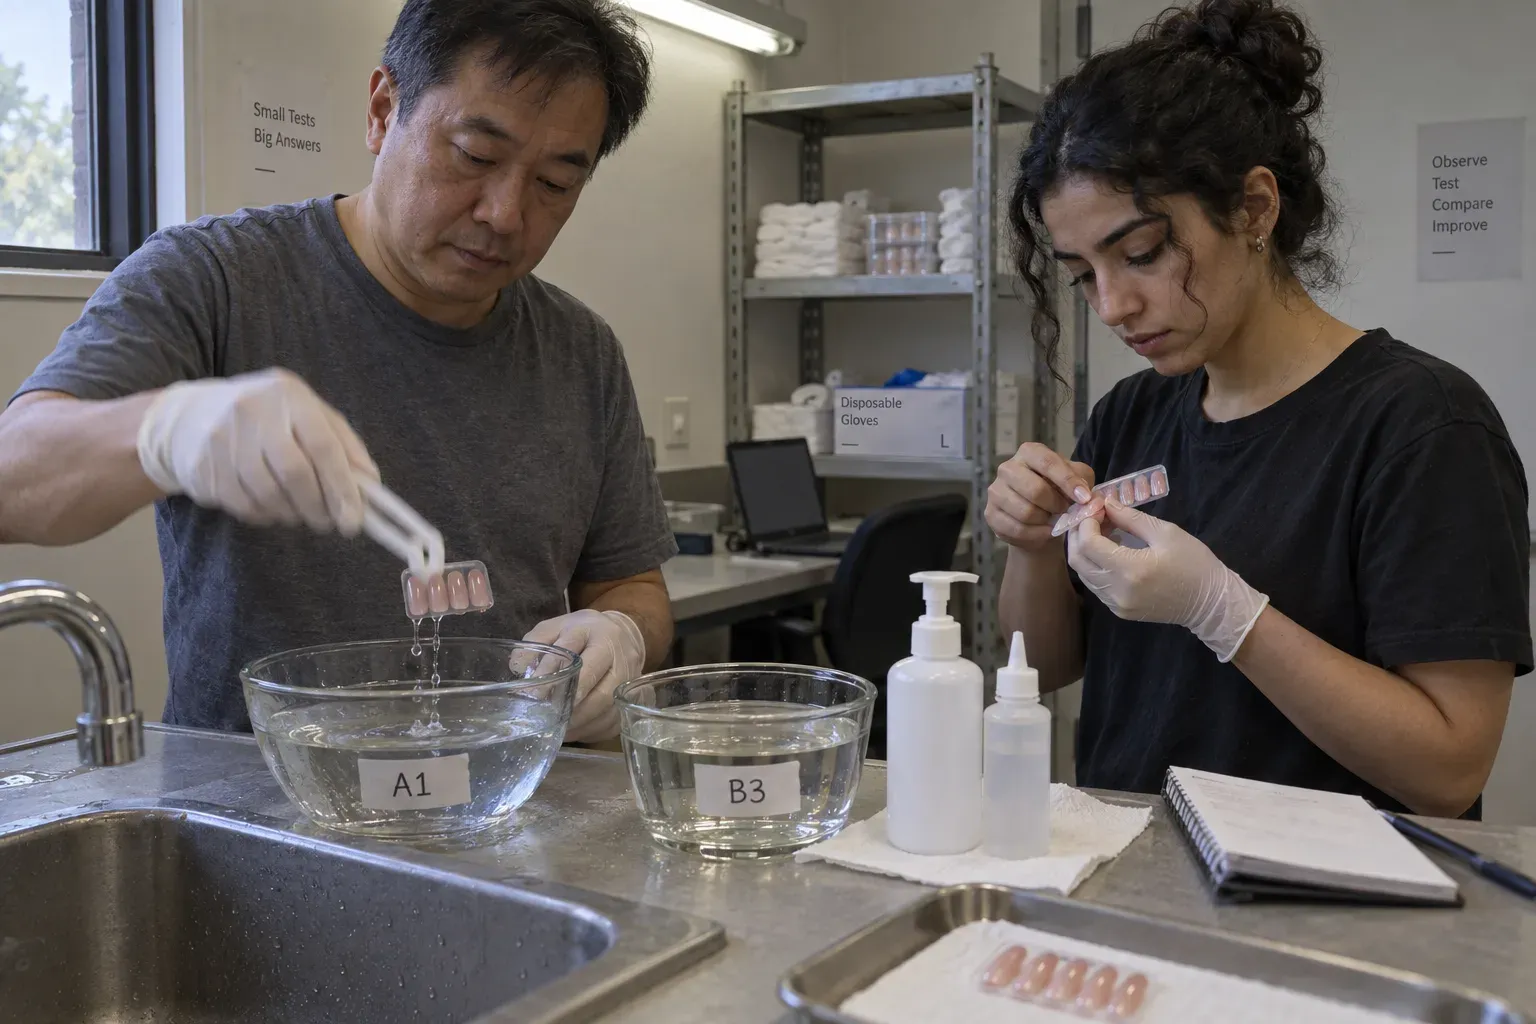
Fit: measure in millimeters, not labels
Generic small, medium, and large labels are where fit problems start. Sizing chart accuracy depends on real measurements. Record all ten fingers separately, because fingers differ in width. Measure width at the widest point, cuticle-to-free-edge length, and curve depth. A piece of tape marked side-to-side at the widest point gives you an accurate reading fast. Then compare the sample tips against a standard millimeter scale and against your published size chart. A flush fit means no gaps at the side walls and no pressure points at the cuticle.
Adhesion: track numbers, not impressions
Adhesive bond strength is only meaningful when the nail bed preparation is standardized. Every tester should cleanse, buff, and dehydrate the same way, or results will not compare. Then track concrete outcomes.
Metric | How to record it |
|---|---|
Time-to-first-lift | Hours from application to first visible edge lift |
Retention rate | Percent of nails retained at 24, 72, and 168 hours |
Edge gap | Average gap in millimeters at the lifted edge |
Cosmetic change | Bubbling, delamination, or polish cracking, with photos |
Durability: stress the structure on purpose
A complete product durability assessment goes past surface looks. Apply pressure to the free edge and watch for snapping, bending, or white stress marks. During a controlled snap test, note the exact point of failure. That tells you where apex reinforcement is needed for each length. Cross-section one sacrificial nail to audit curing depth. Uncured gel inside the layers causes structural failure and can trigger skin sensitivities. Run a <a href="https://www.fda.gov/cosmetics" target="_blank" rel="noopener noreferrer">cosmetic safety guidance</a> <sup id="ref-4"><a href="#footnote-4" class="footnote-ref">4</a></sup> with sunscreen, hand sanitizer, and household detergent, and log any surface or pigment reaction. Finally, document removal. The set should detach with warm water or oil without trauma to the natural nail plate, and you should count reusability cycles: how many times one set survives adhesive cleaning and reapplication before the base degrades.
✔ Cross-sectioning one sample nail can reveal uncured gel that causes failures and skin sensitivities TrueA curing depth audit exposes internal layers that surface inspection cannot reach, catching a hidden cause of breakage and irritation before bulk production.✘ Standard S/M/L size labels are reliable enough for approving handmade press-on fit FalseFingers vary in width, length, and curve depth, so only millimeter measurements across all ten fingers confirm true fit accuracy.
How do I compare test results across multiple sample rounds to catch inconsistencies before mass production?
One lesson from coordinating nail projects in Shantou: a beautiful second sample can still drift from the first. We learned to trust side-by-side data, not memory.
Compare rounds by keeping identical test conditions, logging the same metrics for every sample, and placing results side by side in one tracking sheet. Flag any drift in sizing, curvature, coating, or adhesion between the prototype and the production-representative sample before signing off on bulk production.
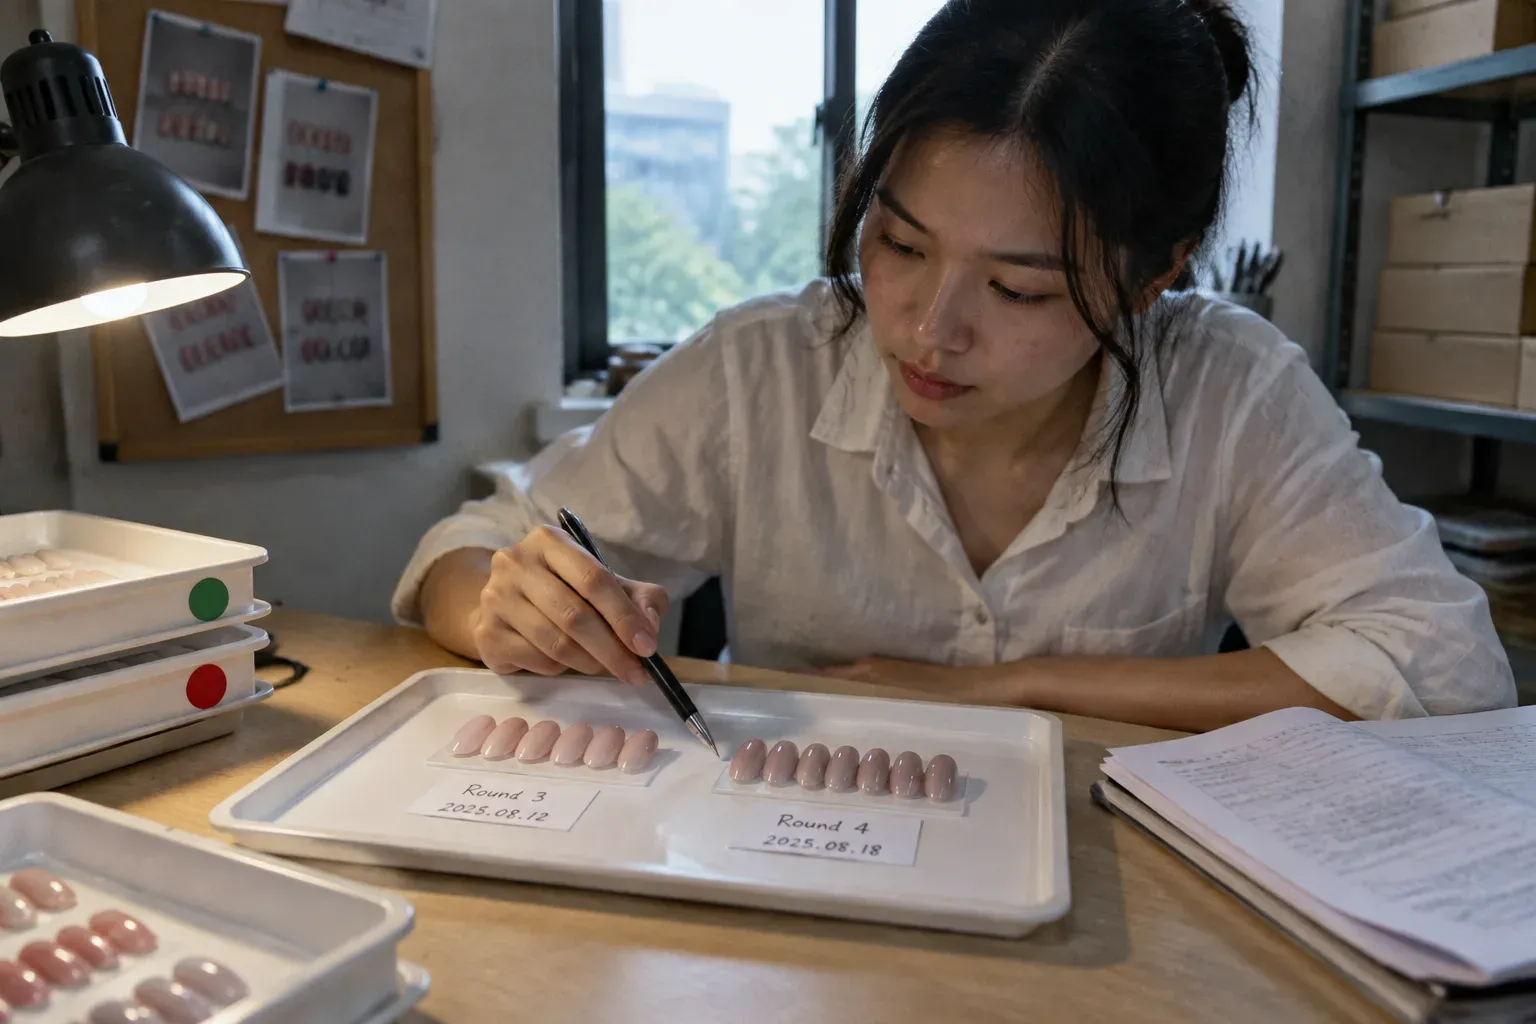
Some buyers expect a sample to match the final batch exactly, and they treat any difference as a failure. That expectation sets projects up for conflict. A prototype and a production-representative sample serve different jobs, and small differences between them are normal. The real question is whether the differences are moving in the right direction and whether they stay inside your tolerances. That is why we structure every press-on project around at least two sample rounds before quality inspection and shipment.
Comparison only works if conditions stay fixed. Use the same testers, the same adhesive type, the same nail bed preparation routine, and the same wear window in every round. Change one variable and your data stops being comparable.
A simple round-comparison sheet
Metric | Round 1 prototype | Round 2 production sample | Drift flag |
|---|---|---|---|
Width at widest point (mm) | Record | Record | Flag if outside tolerance |
Curve depth | Record | Record | Flag any change |
Time-to-first-lift | Record | Record | Flag if shorter |
Retention at 168 hours | Record | Record | Flag if lower |
Chip or fade by day 14 | Record | Record | Flag any new defect |
Reusability factor | Cycles survived | Cycles survived | Flag if fewer cycles |
Turn comparison into a decision
Set your decision rules before results arrive. Pass a sample when fit accuracy, color fidelity, coating durability, adhesive performance, and packing integrity all hold across rounds. Revise when one metric drifts but the cause is clear, such as a thinner topcoat. Reject when you see visible cracking, early lifting, inconsistent sizing between rounds, or rough finishing. There is one more payoff. Documented, repeated results become sales evidence. Wear time duration data and after-wear photos support your quality claims, justify premium pricing, and build buyer trust in a way adjectives never can.
✔ At least two sample stages, a prototype and a production-representative set, are recommended before bulk approval TrueThe prototype verifies fit and curvature while the second sample verifies finish, color match, and coating adhesion under production conditions.✘ Any visible difference between the sample and a later round means the supplier failed FalsePrototype and production-representative samples naturally differ; what matters is whether drift stays within your documented tolerances.
Conclusion
Untested samples turn into returns and refunds. Test fit, adhesion, and durability, log every result with photos, compare rounds, and approve bulk production only on documented evidence.
Sourcing handmade press-on nails and need to check MOQ against your order plan? Browse the ZONO press-on nail range for finished sets, shapes, and private-label options.
Footnotes
1. Authoritative health and safety guidelines for nail products and chemical exposure. ↩︎ 2. Global standard for quality management systems relevant to manufacturing and prototype verification. ↩︎ 3. Comprehensive overview of artificial nail types, materials, and application methods. ↩︎ 4. Official regulatory information regarding cosmetic product safety, labeling, and ingredient testing. ↩︎